

Why apartment composting is more accessible than most people expect
About 30 percent of household waste is organic material that could be diverted from landfills. For apartment residents, that figure represents real savings on waste hauling costs and a direct supply of free soil amendment for container plants. The three methods covered here scale to a studio kitchen, a balcony, or a shared utility room, and none requires a permit or landlord approval in most buildings (though checking your lease is a reasonable precaution).
Each method has a different footprint, cost, and tolerance for the types of scraps you generate. Understanding that difference upfront saves you from buying equipment that does not fit your cooking habits. If you also grow food in containers or a small raised bed, finished compost from any of these systems can feed your plants directly. See the raised bed soil guide for guidance on mixing homemade compost into a low-cost growing medium.
What you will need
Choosing your method
Three approaches are well suited to compact living situations.
Vermicomposting
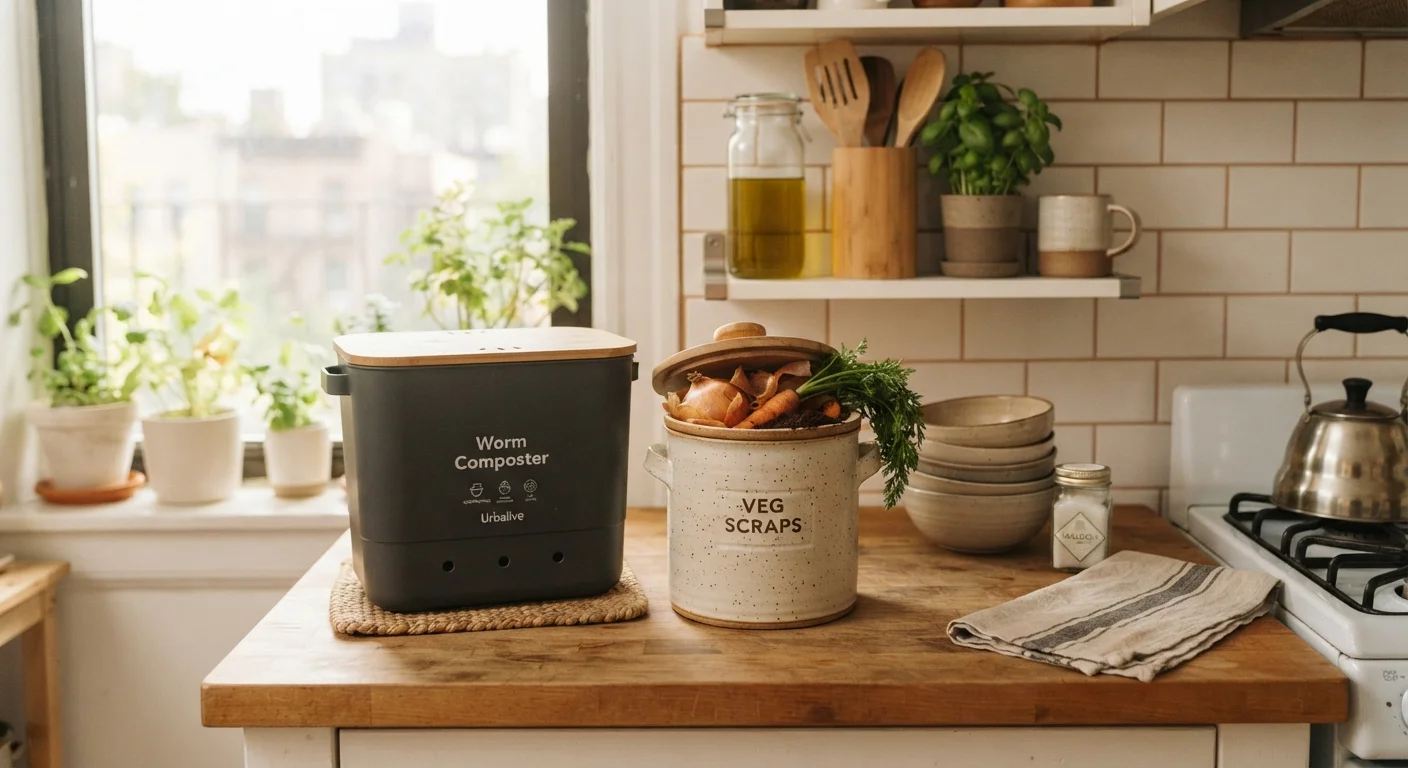
Vermicomposting uses red wiggler worms (Eisenia fetida) to break down food scraps into castings, a nutrient-dense amendment. A bin sized to a five-gallon bucket holds enough worms to process roughly three to four pounds of scraps per week, which covers the output of a one- to two-person household. The bin sits under a sink or in a closet. Odor is minimal when moisture and carbon-to-nitrogen balance are correct.
Bokashi fermentation
Bokashi is a Japanese fermentation process that uses inoculated bran to pickle food scraps in an airtight bucket. Unlike vermicomposting, it accepts meat, fish, and dairy. The fermented material is not finished compost; it needs to be buried in soil or added to a secondary bin for final breakdown. A balcony container garden or a community garden plot works well for this final step.
Countertop electric composters
Electric composters grind and heat food scraps into a dry, odorless material in a few hours. The output is not biologically active compost, but it is a useful soil amendment when mixed with potting soil. These units cost considerably more upfront and use electricity continuously, so factor that into your comparison with the other methods.
Setting up a vermicomposting bin step by step
Build or source your bin
The simplest bin uses two five-gallon buckets nested together. Drill 1/4-inch holes across the bottom of the inner bucket for drainage and aeration. Drill similar holes around the upper sides, about two inches below the rim. The outer bucket collects any liquid (worm leachate), which you can dilute ten parts water to one part leachate and use as a liquid fertilizer.
Alternatively, purpose-built worm bins with stacking trays are available and make harvesting easier, but the two-bucket version costs very little if you already own a drill.
Prepare the bedding
Tear corrugated cardboard or newspaper into strips roughly one inch wide. Soak the strips in water for two minutes, then squeeze out the excess until the material feels damp but not dripping. Fill the inner bucket about two-thirds full with this bedding. Mix in a small handful of garden soil or finished compost to introduce microorganisms. The bedding provides carbon, habitat, and moisture regulation for the worms.
Add your worms
Red wigglers are the correct species for this system. Common earthworms from garden soil will not thrive in a worm bin; they need different conditions. A starting population of about 500 worms (roughly half a pound) works for a two-person household. Place the worms on top of the damp bedding with a small amount of food scraps and cover them with a thin layer of additional bedding. Put the lid on loosely for the first day to let the worms settle.
Establish a feeding routine
Wait four to five days before the first feeding. Add scraps in a shallow trench in the bedding, then cover with a thin layer of bedding material. Feed every two to three days in small amounts rather than one large weekly addition. Keep a small container with a tight lid on your counter to collect scraps between feedings; a ceramic crock or a repurposed glass jar with a lid works well and controls any odor during interim storage.
Monitor temperature and location
Red wigglers are most active between 55 and 77 degrees Fahrenheit. Avoid placing the bin near a heat vent, in direct sun on a balcony, or in a space that drops below 50 degrees in winter. A kitchen cabinet under the sink, a closet shelf, or an interior corner of a balcony (shaded in summer) all work well. If the bin gets too warm, move it to a cooler spot and open the lid briefly to release heat.
Managing your bin and troubleshooting common problems
Once your bin is running, the main tasks are feeding, moisture monitoring, and harvesting castings every two to three months.
Feeding guidelines
Add scraps in small amounts and bury them under bedding each time. Acceptable materials include fruit and vegetable scraps, coffee grounds, tea bags (remove staples), crushed eggshells, and plain cooked grains in small quantities. Avoid citrus in large amounts, onion scraps, spicy peppers, oily foods, meat, and dairy, all of which stress worms or attract pests. Reducing food waste at the grocery stage also reduces what enters the bin; the grocery budgeting habits article covers meal planning approaches that cut organic waste at the source.
Moisture and odor
Bedding should feel like a wrung-out sponge. If the bin smells like ammonia, the nitrogen load is too high; add more shredded cardboard or newspaper. If it smells like rot, the bin is too wet or anaerobic; fluff the bedding and reduce feeding frequency.
Harvesting castings
Push finished material to one side of the bin and add fresh bedding and food to the empty side. Worms migrate toward food over two to three weeks, leaving the finished castings behind for collection. One five-gallon bin typically produces around one quart of castings per harvest, enough to top-dress several container plants.
Using your finished castings
Worm castings are concentrated, so a little goes a long way. Mix one part castings with four parts potting soil for container plants, or use a thin top-dressing around the base of houseplants. Castings stored in a sealed container with a slightly damp paper towel on top remain viable for several months.
The content provided on our blog site traverses numerous categories, offering readers valuable and practical information. Readers can use the editorial team’s research and data to gain more insights into their topics of interest. However, they are requested not to treat the articles as conclusive. The website team cannot be held responsible for differences in data or inaccuracies found across other platforms. Please also note that the site might also miss out on various schemes and offers available that the readers may find more beneficial than the ones we cover.