

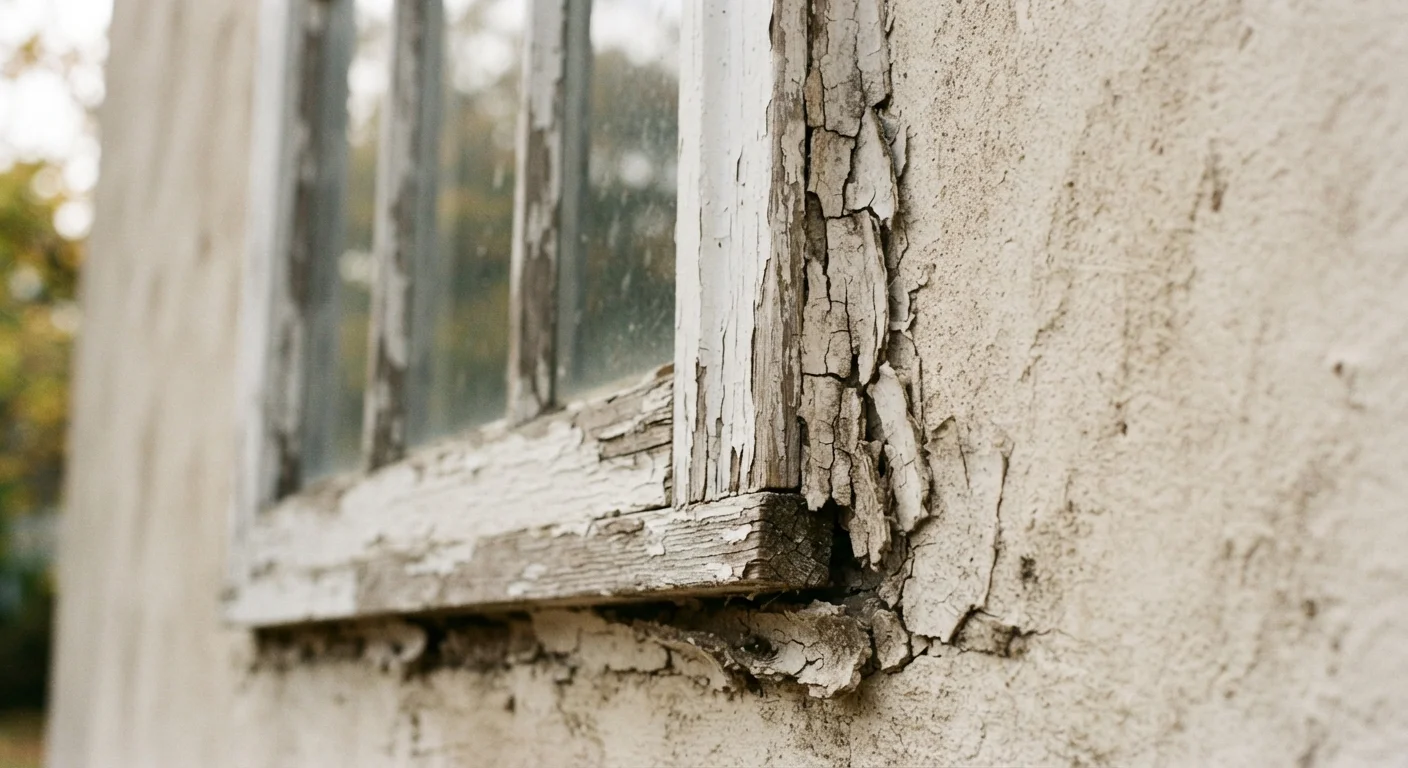
Why caulk fails before the first frost
Caulk is one of the cheapest weatherproofing materials available, yet it is also one of the most frequently wasted. A tube costs a few dollars, but a failed bead means drafts, water infiltration, and the cost of doing the job twice. The failures almost always trace back to preparation, not the product itself.
Exterior joints expand and contract significantly as temperatures fall from summer highs to winter lows. A well-applied bead of the right caulk handles that movement without splitting. A poorly prepared joint gives the caulk nowhere to anchor, so even minor thermal movement tears it loose. Understanding where the process goes wrong makes the fix straightforward.
For a broader look at sealing your home before cold weather arrives, see our room-by-room draft checklist, which covers gaps beyond caulkable joints.
The most common caulking mistakes and how to fix them
Skipping surface cleaning before application.
Why it happens: Caulking looks like a quick job, so many people apply it without wiping down the joint first. Dust, grease, mildew residue, and old primer remain on the surface and block adhesion.
Applying caulk when temperatures are below 40 degrees Fahrenheit.
Why it happens: Homeowners often rush caulking projects in late autumn when they notice gaps. Many standard acrylic latex caulks require temperatures above 40 degrees F to cure correctly, and some silicone formulas have similar limits.
Using interior-grade caulk on exterior joints.
Why it happens: Tubes of caulk look similar at a hardware store, and the price difference encourages people to reach for whatever is on hand. Interior acrylic caulk is not formulated to handle UV exposure, rain, or the thermal movement that exterior surfaces experience.
Leaving moisture in the joint before caulking.
Why it happens: Morning dew, recent rain, or a hose-down of the exterior can leave water trapped in joints. Caulk applied over moisture cannot bond to the substrate and often peels away within days.
Overfilling wide or deep joints in one pass.
Why it happens: The instinct is to fill the gap completely in one go. On joints wider than about half an inch, a thick bead of caulk cannot flex adequately and tends to skin over on the outside while remaining uncured inside.
Applying new caulk over old cracked caulk.
Why it happens: Removing old caulk takes time and feels unnecessary when only small cracks are visible. The assumption is that new caulk will seal over the old failure points.
Each of the mistakes above has a practical fix that adds minutes, not hours, to the job. The pattern across all of them is the same: skipping preparation saves time in the moment and costs it later.
Old caulk under new caulk always fails
Applying fresh caulk directly over cracked or partially intact old caulk is the single most reliable way to ensure the new layer fails too. The old material prevents direct contact with the substrate, so adhesion never forms properly. Use a utility knife or oscillating tool to remove every trace of old caulk before you open a new tube.
Choosing the right product for the joint
40°F
Minimum safe application temperature for most caulks
Most acrylic latex and siliconized acrylic caulk labels specify 40 degrees F as the lower limit for application and curing.
25%
Maximum joint movement many caulks can handle
Standard elastomeric caulks are typically rated to accommodate movement of up to 25% of the joint width before cracking.
1/2 inch
Maximum gap width before a backer rod is needed
Caulk manufacturers generally recommend using a foam backer rod for any joint gap wider than half an inch to ensure proper curing depth.
Not every caulk is built for every application. A joint between a wood window frame and a brick exterior expands and contracts differently than a joint between two vinyl surfaces. Silicone caulk offers the best flexibility and water resistance for exterior use, but it cannot be painted. Siliconized acrylic (sometimes called "paintable silicone") is a good middle ground for trim work where you need to match paint color later.
For joints in areas with consistent moisture exposure, such as around exterior spigots or basement window wells, look for a product specifically rated for wet or below-grade conditions. The label is the most reliable guide. Ignore the color of the tube and focus on the listed applications, temperature range, and cure time.
Once the joint is properly prepared and the right product is in place, caulk applied correctly in mild, dry conditions will remain flexible through multiple freeze-thaw cycles. The work done in September and October is what determines whether the joint holds in January.
The content provided on our blog site traverses numerous categories, offering readers valuable and practical information. Readers can use the editorial team’s research and data to gain more insights into their topics of interest. However, they are requested not to treat the articles as conclusive. The website team cannot be held responsible for differences in data or inaccuracies found across other platforms. Please also note that the site might also miss out on various schemes and offers available that the readers may find more beneficial than the ones we cover.